Ideal Bee Project
Stage 1
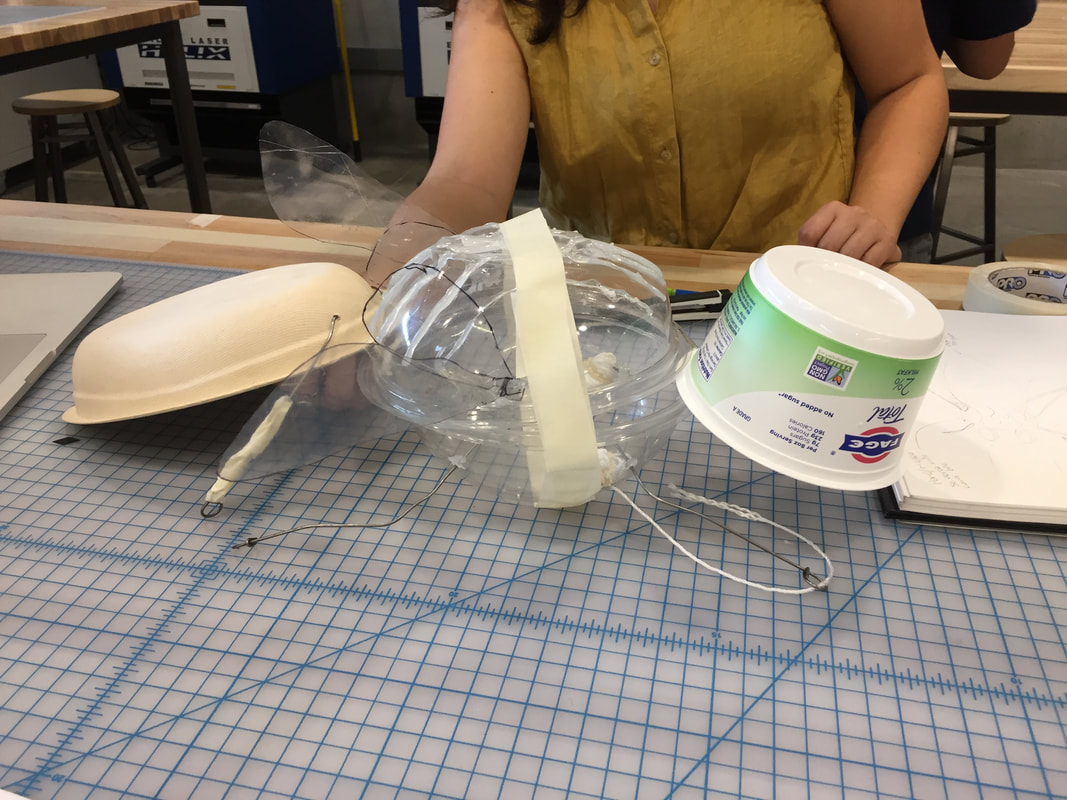
The first stage of constructing our ideal bee was to come up with things that we wanted to implement or change about the bee's biology or phylogeny. My group (myself, Anna Hayes, and Bernie Pieters) decided to alter three separate things: the stinger, the abdomen, and the forelegs.
We wanted to make the stinger retractable so the bee lives after it stings, add ridges to the abdomen to prevent Varroa mites from attaching, and create honey pockets on the forelegs for antiseptic purposes.
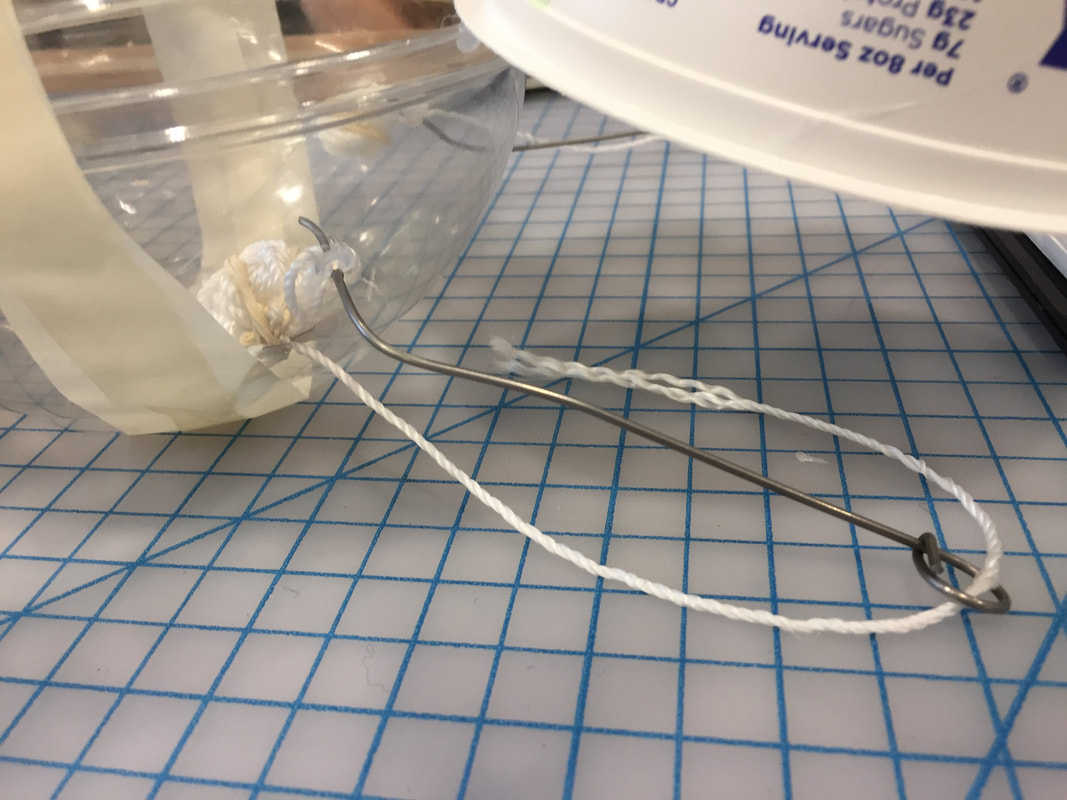
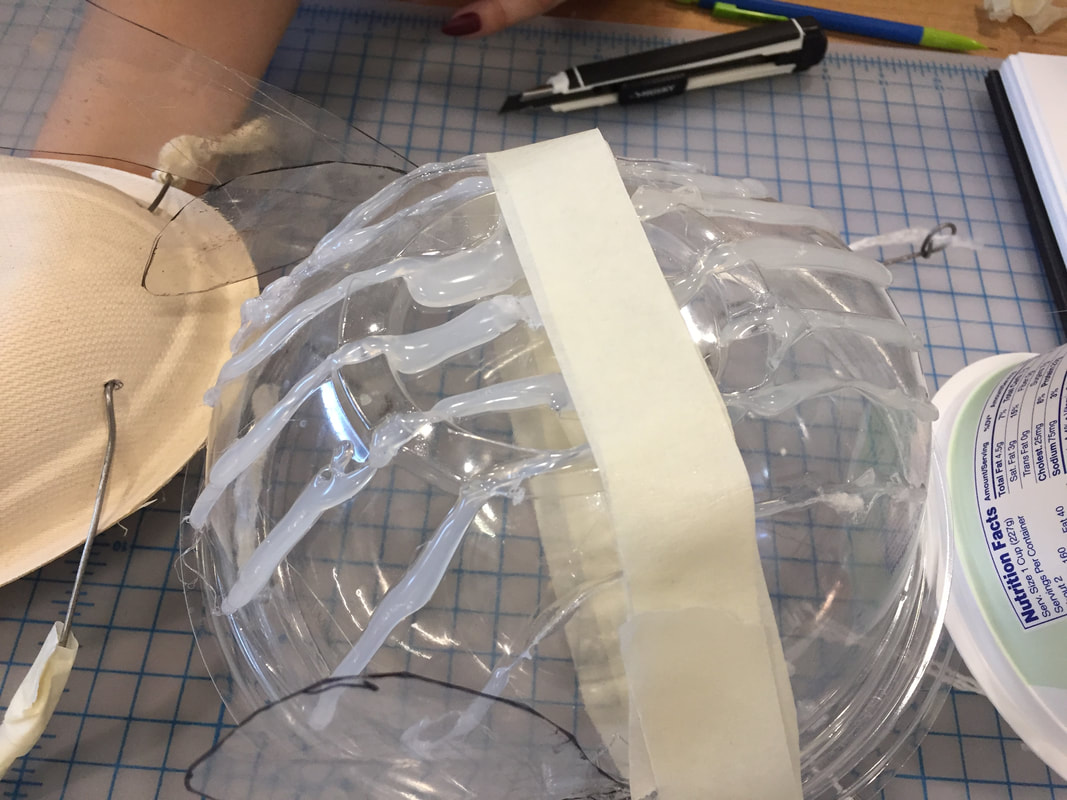
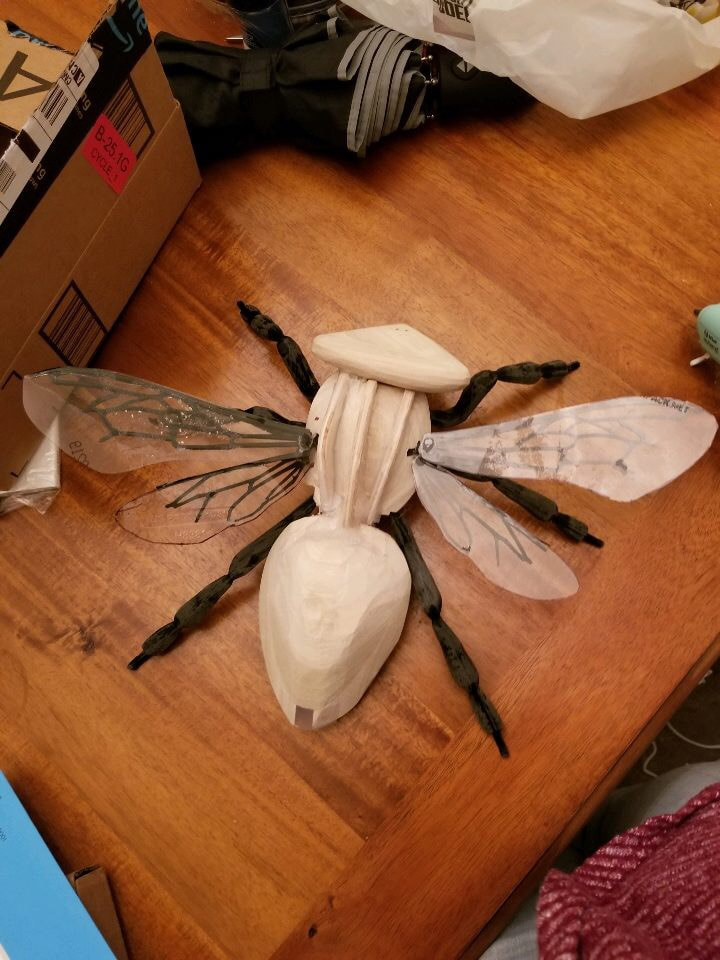
We also made a sort of prototype to help us convey our ideas to the class. Every group presented a proto-type and their ideas at once, and then started their work on the final product. Our proto-type can be seen below, with some close-up shots of the ridges and the foreleg honey stores.
We wanted to make the stinger retractable so the bee lives after it stings, add ridges to the abdomen to prevent Varroa mites from attaching, and create honey pockets on the forelegs for antiseptic purposes.
We also made a sort of prototype to help us convey our ideas to the class. Every group presented a proto-type and their ideas at once, and then started their work on the final product. Our proto-type can be seen below, with some close-up shots of the ridges and the foreleg honey stores.
|
|
|
Stage 2
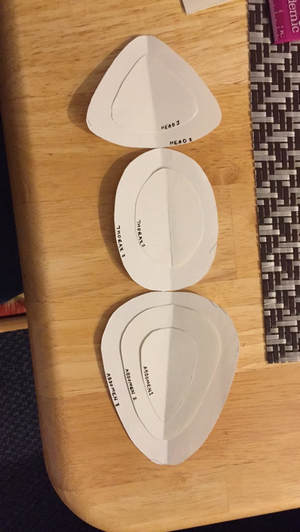
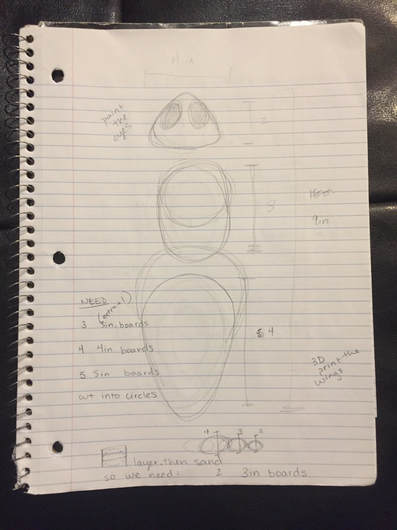
This stage was all about prep. The 1819 Innovation Hub was kind enough to let us use their space, but we had to go through a couple of training procedures before they could safely allow us to use their resources. One of these training procedures was the general orientation, in which we were shown around the Ground Floor. It smelled like wood and had a wonderfully productive atmosphere. We were taught how to use the 3-D printers and told what all the spaces had to offer. Myself and one of my group mates also decided to take the Wood shop A class, as we wanted to make the body of the bee out of wood. We also made templates for what we wanted the body pieces to look like, and those can be seen below (several pieces are stacked on top of one another for each body part).
|
|
Stage 3
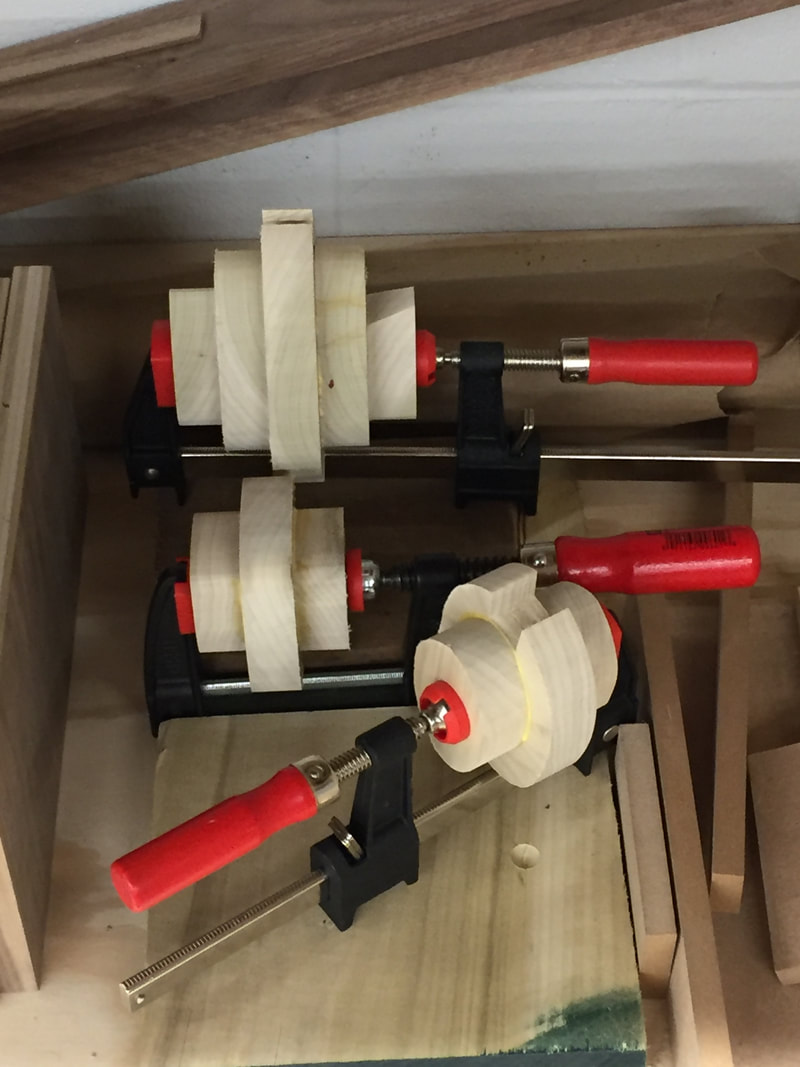
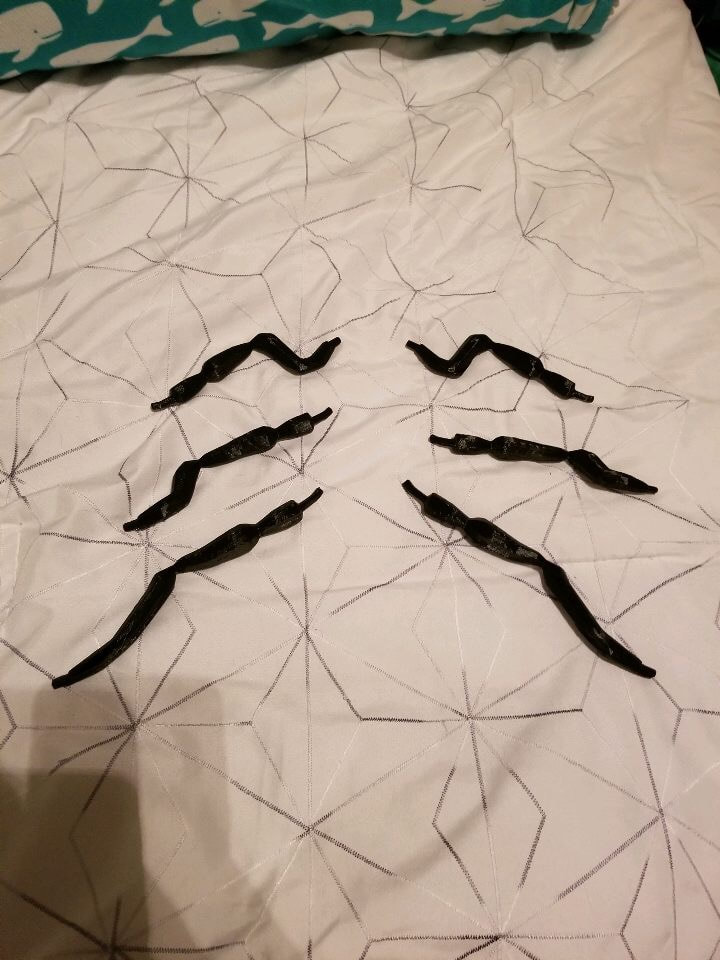
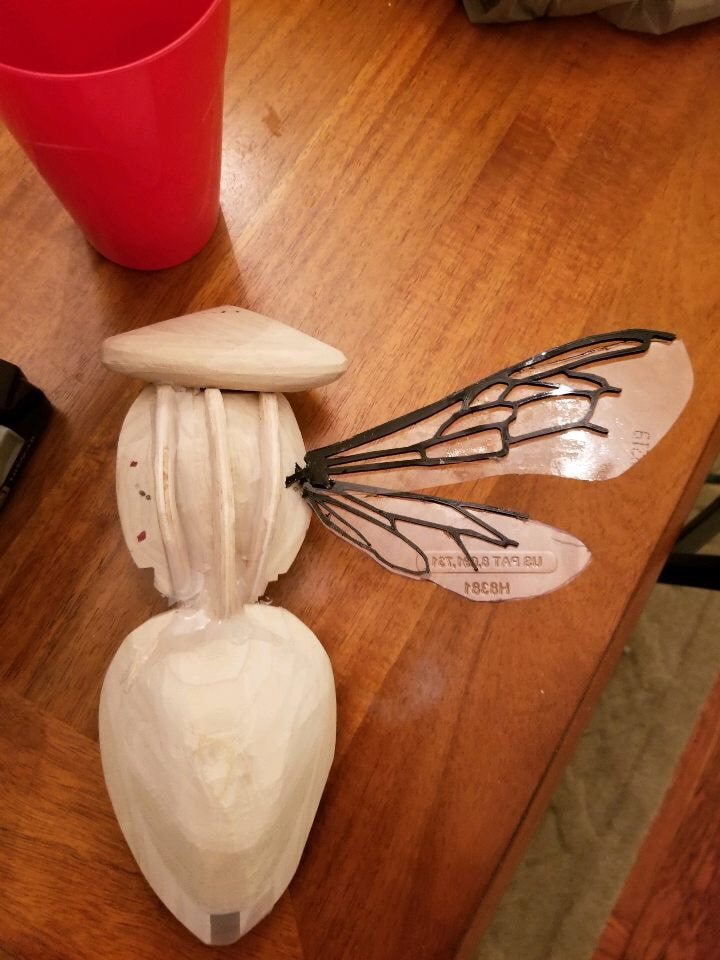
Stage three consisted of the actual creation of our physical ideal bee. The wing frames were 3-D printed and then clear plastic was cut out and hot glued on. The legs were also 3-D printed and sanded down. The body was made by using templates to cut out layers of wood that were stacked and glued on top of each other. We then sanded these down so it wasn't tiered. Our pieces kept catching on the sander, and we even ripped one of the belts at one point. I ended up getting a small cut in the process, and so did one of my group mates. Although we did get some blood on the wood pieces, it was worth it to see all the pieces clamped together and be that much closer to the final product. To attach the three body pieces, we left a slot in the abdomen that a projecting piece from the head fits into. These pieces were also glued together. There also was an attempt made to create a sort of hinge between the abdomen and the thorax but the hole was too large and split the wood, so we drilled a hole into both pieces and connected them with a glued rod.
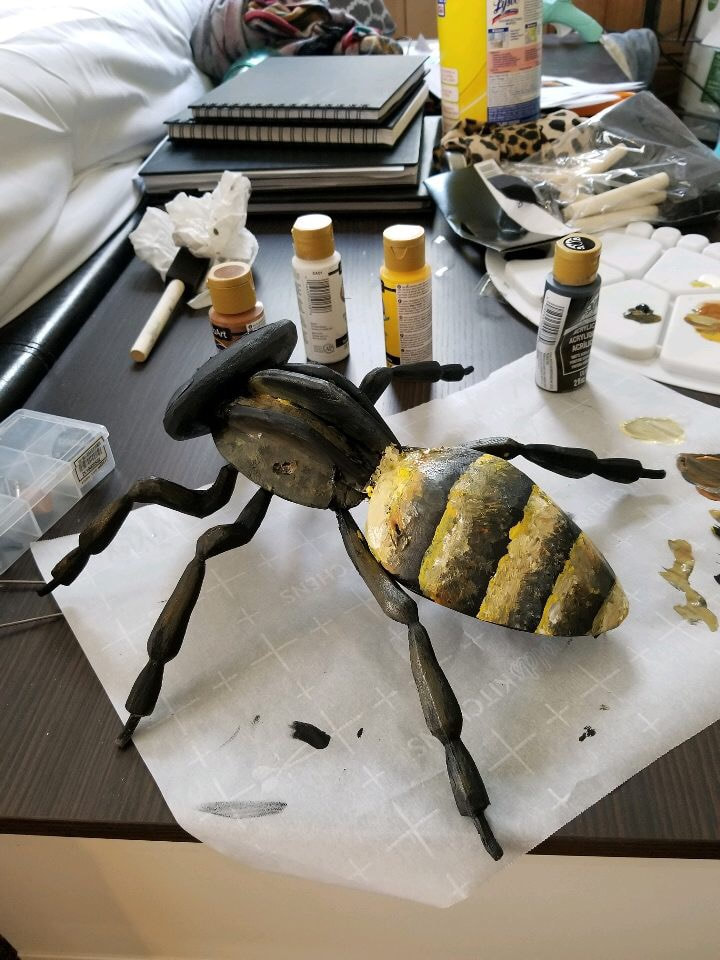
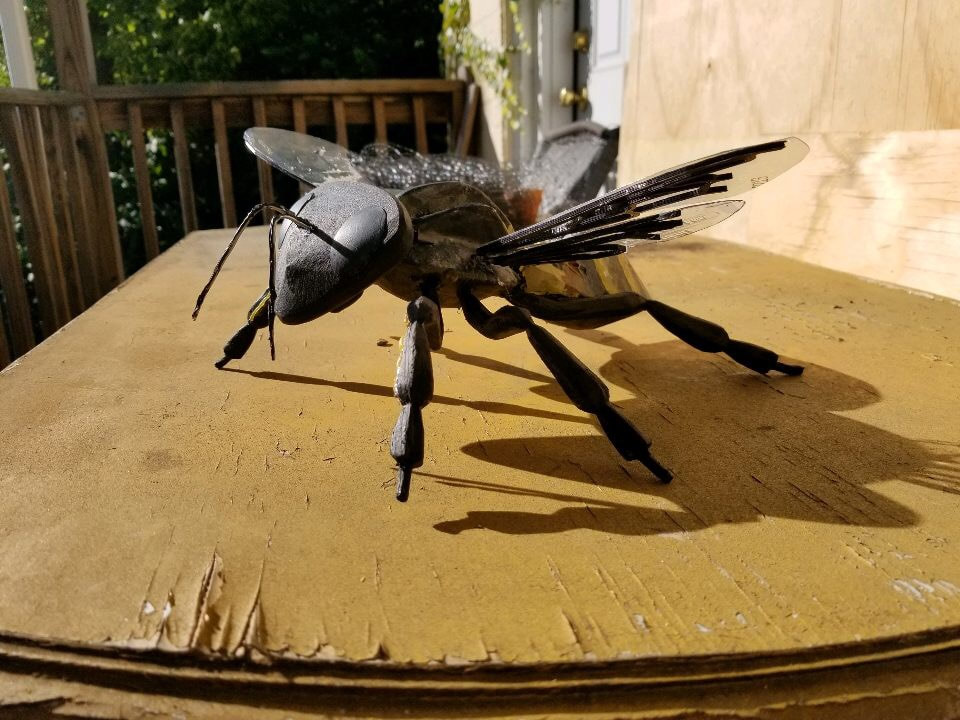
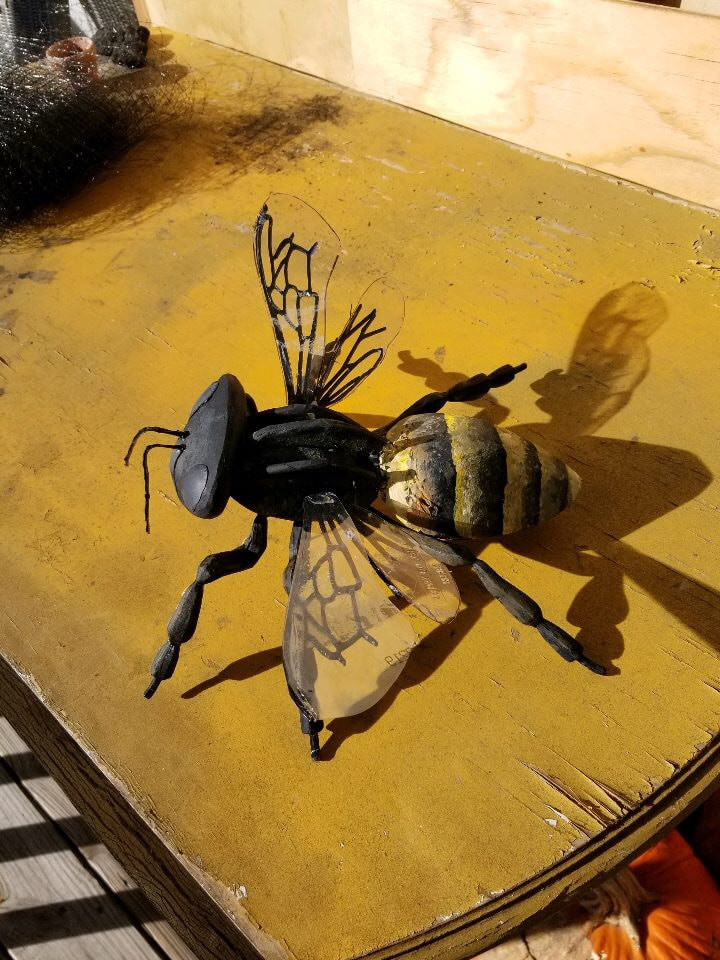
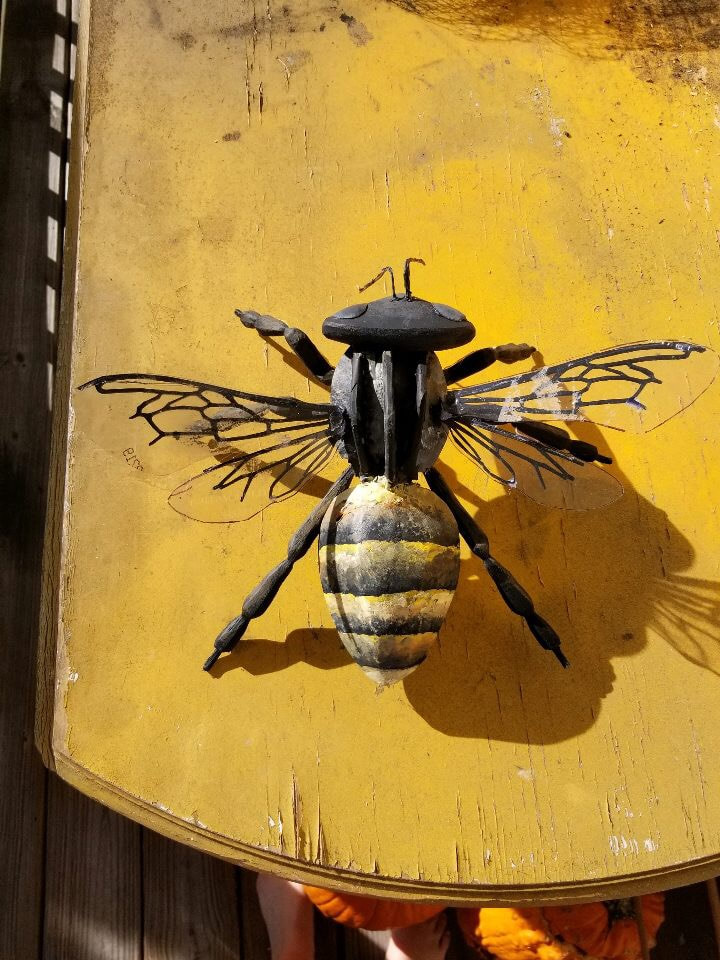
Once we were done sanding and connecting the body pieces, we painted the wood, added eyes from cut out pieces of Christmas ornaments, added antennae, and attached the legs and wings. We also hot glued two lines onto the forelegs and painted them yellow to portray the honey reserves. We also added a rod with a metal wire wrapped around it to function as the "trigger" for retracting the stinger (the wire).
Once we were done sanding and connecting the body pieces, we painted the wood, added eyes from cut out pieces of Christmas ornaments, added antennae, and attached the legs and wings. We also hot glued two lines onto the forelegs and painted them yellow to portray the honey reserves. We also added a rod with a metal wire wrapped around it to function as the "trigger" for retracting the stinger (the wire).
|
|
|
|
|
Stage 4
The fourth stage was the presenting the finished product of our labor. Each group took turns presenting their ideas, process of construction, and finished bees in front of the class. Some groups used posters or PowerPoint to aide their descriptions. My group chose to use our bee as the sole visual component of our presentation. We explained what we chose to modify, why we modified it, and how we made the model. Our alterations became more specific than our base ideas from stage 1. The retractable stinger has differently sized segments that nestle into each other when it returns into the bees body. The honey reserves in the forelegs function much like human sweat glands, producing beads of honey that the bee can then use to clean itself. The ridges on the abdomen of the body are an extension of the exoskeleton of the bee, and so are made out of bone. It made me wonder whether using honey as an antiseptic for bees could be built upon for modern use by beekeepers, or even for humans.
|
|

|
Stage 5
The fifth and final stage is less of the formerly stated and more of my final thoughts: the actual reflection. I loved seeing all the different ways that people had chosen to create their bees, including laser cutting, 3-D printing, and sewing/stuffing material. It was also interesting to see how different groups chose to focus on the model or the altercations of the bee. For example, one group only made half of a bee for their model, but used a poster to display some of the research they did into the bee genome. Other groups (like mine) only had their model and had focused their time on craftsmanship instead. Each approach was insightful to listen to, and there was a lot of diversity between ideas and methods.
I greatly enjoyed this product as I was able to learn how to use woodworking machinery. I had never used a power sander or a, drill press or band saw before, and it was fantastic to open those doors for any future wood projects I might partake in. I learned the safety procedures for not only these machines but also the miter saw and a few hand tools such as wedges, clamps and wood glue. If I were to do this project again, I would also take the lathe training that was offered so I could more easily create rounded wooden pieces, instead of gluing them like we did. I think this would have greatly improved the efficiency of the time it took to make this model, and also create more sphere shaped pieces, instead of the more oval appearance we ended up with. This gave our bee an almost wasp appearance, and even caused some of our peers to use descriptive words such as "scary" and "aggressive". I really loved how it turned out, all the pieces fit together really well and create a neat aesthetic. We put our blood (literally), sweat, and tears into this project and it was super fulfilling to have something to be proud of come out the other side.
It was fun to think of the ways we could change bees to better adapt them to our human-centered world. These changes may be unrealistic, but they provide a better grasp on what kind of solution we are looking for in terms of bee survival. I am very excited for our final project, in which we perform research on things we can do right now in the real world to help stop colony collapse disorder and other wicked problems like it.
